How to Make Outdoor Cushions More Comfortable for Less
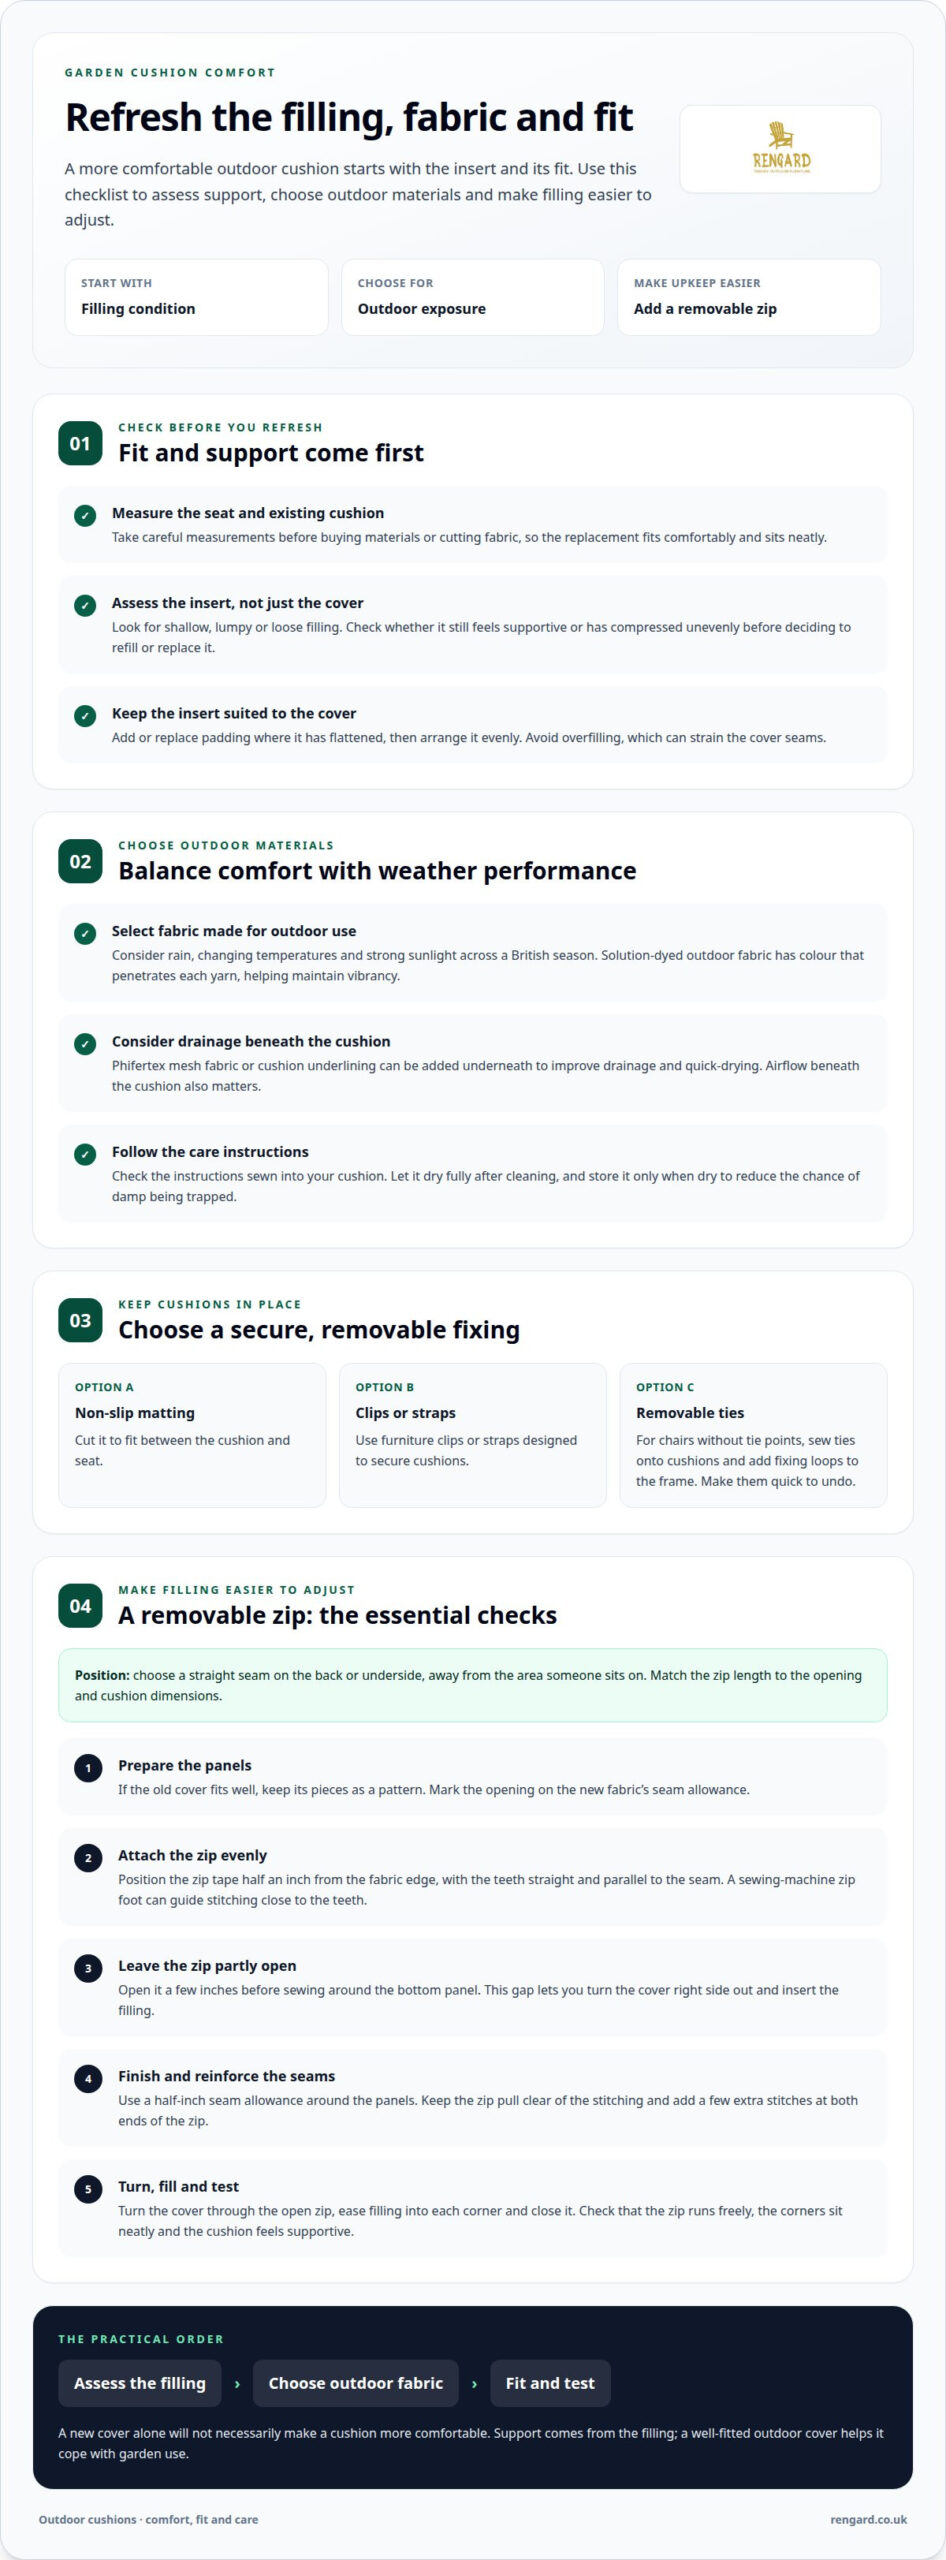
A new cover won’t necessarily make a garden cushion more comfortable. The practical answer to how to make outdoor cushions more comfortable is to check the fit and condition of the filling first, then choose a suitable outdoor fabric and construction. A cushion that’s too shallow, lumpy or loose can feel wrong even when its cover looks smart.
Measure each cushion carefully before buying materials or cutting fabric, then compare the cost and effort of refilling it with replacing it. The filling affects support, while the fabric and a well-fitted cover help the cushion cope with outdoor use in the British climate. This guide explains how to take accurate measurements, choose fabric and filling, add a zip for removable filling, and weigh up your options to refresh your garden seating with comfort and practicality in mind.
Key Takeaways
- Measure the seat and existing cushion carefully so replacement materials fit comfortably and sit neatly.
- Choose outdoor fabric and filling with comfort, drainage and the British weather in mind.
- A zip makes it easier to remove filling for adjustment or replacement; leave it partly open while sewing the cover.
- Compare the condition of the existing cushion with the work involved in re-stuffing before deciding whether to replace it.
- Add padding to worn cushions to improve their feel, while keeping the insert suited to the cover.
Adding a zip for removable filling
- Choose the opening. Select a straight seam along the cushion’s back or underside, where the zip won’t press against someone sitting. Match the zip length to the opening and the cushion’s dimensions. A longer opening makes bulky filling easier to remove and replace, especially in a deep garden sofa cushion.
- Prepare the fabric panels. Remove the old cover carefully, keeping its pieces as a pattern if they fit well. Mark the zip opening on the new fabric’s seam allowance. Position the zip tape half an inch from the fabric edge, keeping its teeth straight and parallel to the seam.
- Sew the zip into the opening. Place the two fabric edges beside the zip teeth, then stitch each side securely. Use a sewing-machine zip foot to guide the stitching close to the teeth. Keep the fabric flat as you sew, so the zip runs smoothly rather than puckering the cover.
- Join the cover panels. Open the zip a few inches before sewing around the bottom panel. This gap lets you turn the cover right side out and insert the filling. If your design uses a side strip, join its ends half an inch from the edge to form a loop.
- Finish the seams. Sew around the cushion panels with a half-inch seam allowance, taking care not to catch the zip pull in the stitching. Reinforce the seam at both ends of the zip with a few extra stitches. Trim loose threads, but avoid cutting into the fabric or zip tape.
- Turn and test the cover. Use the partly open zip to turn the cover right side out, then run the zip along its full length. Check that the corners sit neatly and the seam doesn’t pull. A smooth zip makes removing filling easier for adjustments, cleaning or seasonal storage.
- Insert and assess the filling. Ease the filling into each corner before closing the zip, so it sits evenly rather than bunching. Sit on the cushion and check its support and shape. If the filling needs adjusting later, reopen the zip instead of unpicking the sewn seams.
As you work, keep the zip placement consistent along the opening: position the zip 1/2″ from the edge of the fabric. This gives you a clear seam line to follow while attaching the tape and helps keep the teeth aligned with the opening. Take care to keep the fabric edges in their intended position as you sew, since a shift can make the opening harder to close neatly. Before moving on to the bottom panel, check that the zip still moves freely and that the fabric has not folded into its path.
Leave the zip open a few inches before sewing around the bottom panel. This lets you turn the cover right side out and add the filling. Keep the gap clear as you handle the cover, rather than sewing the opening shut when you finish the perimeter. Once the cover is turned, use the opening to add and arrange the filling, then close the zip. Checking the cover at this stage can save you from reopening a seam to reach the interior.
Choosing outdoor fabric and cushion filling
- Match the fabric to outdoor exposure. For outdoor cushions to feel comfortable and perform well, choose fabric made for outdoor use. Consider rain, changing temperatures and strong sunlight across a British season. Solution-dyed outdoor fabric has colour that penetrates each yarn, helping maintain vibrancy. Read the care instructions before choosing a cover for your patio or garden.
- Consider drainage as well as the cover. A cushion that retains water can take longer to dry after rain. Phifertex mesh fabric or cushion underlining can be added underneath to improve drainage and quick-drying. This suits cushions left on garden chairs between showers, where airflow beneath the cushion also matters.
- Choose filling for the way you sit. Assess whether the existing filling feels supportive or compresses unevenly. One outdoor cushion project used filling four inches tall, but thickness depends on the seat and preferred feel. Choose filling that sits evenly without straining the cover seams, and consider how the cushion will support you during longer periods of sitting.
- Prevent cushions slipping. Cut non-slip matting to fit between the cushion and seat, or use furniture clips or straps designed to secure cushions. For chairs without tie points, sew removable ties onto cushions and add fixing loops to the frame. Make ties quick to undo, so cushions can come indoors when rain arrives.
- Clean according to the sewn-in instructions. One cushion manufacturer recommended sponge-washing each cushion with its cover in place. Follow the care instructions on your own cushion, then let it dry fully before using or storing it. This helps prevent moisture being trapped inside after cleaning in changeable UK weather.
- Store cushions indoors during winter. Bringing cushions inside when they’re not in use can help prevent unnecessary wear and potential pest infestations. Take them indoors before prolonged wet weather, and store them only when dry. This reduces the chance of damp being trapped against the fabric during storage.
- Refresh flattened filling before replacing the cover. One set of seat cushions contained layered polyester batting more than 20 years old. Worn layers may no longer support the seat evenly. Open the cover and assess the filling; replace or add suitable padding where it has compressed, while keeping the insert evenly shaped.
Comparing the cost of replacement cushions with DIY re-stuffing
- Count the cushions and group them by type. Separate seat cushions from back cushions, since their shapes and filling needs may differ. One comparison involved eight cushions in total: four seats and four backs. Use your own count when comparing options, so neither estimate leaves out a cushion or includes an unnecessary replacement.
- Assess what needs replacing. Check each cover for torn seams, worn fabric, broken zips and staining. Then press the filling to see whether it springs back or feels uneven. If only the filling has flattened and the covers remain sound, re-stuffing may avoid replacing usable fabric.
- List the full DIY materials. Include replacement filling, any new fabric, a zip, thread and other supplies needed for the repair. Add any tools you must buy, rather than counting only the filling. Keep the list specific to each cushion, because a shaped corner-sofa cushion may need different materials from a simple seat pad.
- Include the work involved. Re-stuffing can involve opening seams, removing compressed layers, cutting new filling and closing the cover securely. Replacing a cover adds fabric cutting and sewing. Consider your sewing experience and available time alongside material costs; a low materials total may still involve substantial hands-on work.
- Compare like with like. For replacement, request an estimate covering the same number, shape and type of cushions as your DIY list. A set of four seat and four back cushions is not comparable with four seat pads alone. Check whether the proposed replacement includes covers and filling, rather than comparing a complete set with inserts only.
- Weigh fit and remaining lifespan. Re-stuffing makes sense when the covers fit the furniture and the fabric remains in good condition. If several covers are damaged or the cushions no longer suit the seat dimensions, replacement may resolve more than one problem. Compare the finished result, not just the initial materials bill.
- Make a simple side-by-side decision. Write down the replacement estimate, DIY materials and tools, and the work each option involves. Choose re-stuffing when sound covers can be retained and the filling is the main issue. Choose replacement when worn covers, poor fit or uneven support would remain after a repair.
Measuring seat dimensions and cushion height
- Measure the seat frame, not just the old cushion. Remove the cushion and measure the usable seating surface from side to side and front to back. For a garden chair, measure between the inner edges of the frame. Record each measurement separately, since arms, curved backs and woven sides can reduce usable space.
- Check the seat shape at several points. A corner sofa or curved chair may not have parallel edges. Measure the front and back widths, then compare them. Note tapered sides, rounded corners and cut-outs around chair arms. A sketch with each measurement marked helps preserve the shape when cutting a replacement cover.
- Measure the existing cushion without compressing it. Lay it on a flat surface and smooth the cover gently, rather than pulling it taut. Measure its width and depth across the widest points. If the filling has slumped, use the seat frame measurements as your guide, not the distorted cushion outline.
- Record cushion height and sitting position. Measure vertically from the seat surface to the cushion top. Consider how added height affects leg position and support from the backrest. A cushion that sits too high can make a low garden chair feel awkward, even if its width fits. Accurate measurements are a practical first step in learning how to make outdoor cushions more comfortable.
- Account for compression when choosing thickness. Note how the cushion changes shape under your weight, as well as its height when resting naturally. Seat depth, frame height and preferred firmness all influence suitable thickness. A deep lounge seat, for example, may need a different profile from a dining chair used for upright meals.
- Check the insert against the cover. The insert should fill the cover’s corners without pulling hard on its seams. An insert that’s too small can leave loose fabric and uneven support; an oversized one can strain the zip or stitching. Compare the cover’s shape with the seat before cutting or buying replacement filling.
- Test one cushion before measuring a full set. Place it on the chair or sofa and assess the edges, height and back support. Sit down and check whether it shifts, overhangs or leaves part of the frame exposed. This final fit test helps you assess comfort and practicality before repeating the measurements across the set.
How can I add padding to existing outdoor cushions?
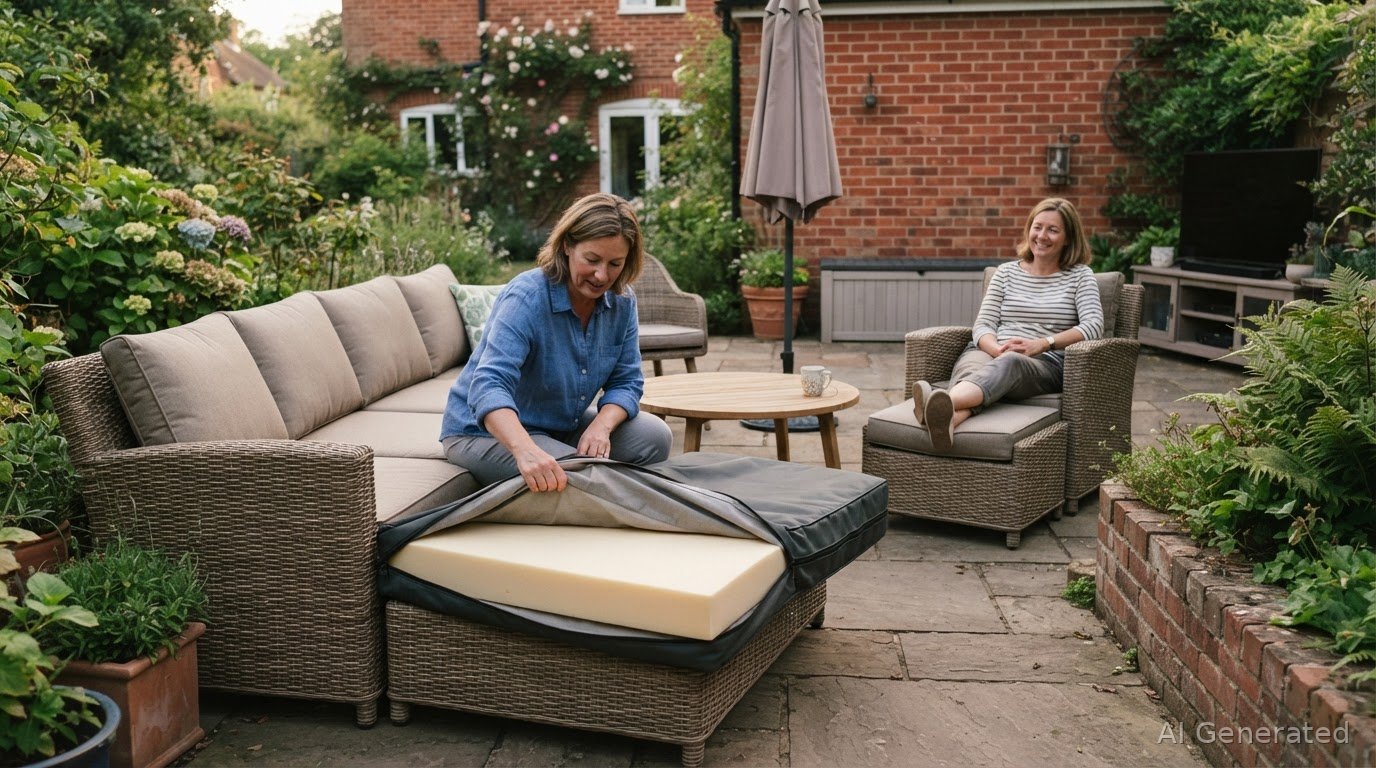
- Open the cushion cover carefully. Use the zipper, if fitted, or unpick a short section of seam. Remove the insert without tearing the fabric. Lay the cover flat and note where the cushion feels thin, such as the front edge or seat centre. This helps you place extra padding where support is needed.
- Inspect the existing layers. Separate the filling and remove any dusty, damaged or lumpy batting. In one cushion project, two dusty layers were removed before the remaining batting became a pattern for replacements. Keep only material that’s clean and retains a useful shape.
- Use the old batting as a template. Place the sound layer on new batting and trace around its outline. Cut carefully, following the original shape so the new padding covers the same area. For a set of four seat cushions, one project used four matching sets of new cotton batting pieces.
- Choose where to add the new layer. For a seat cushion, position batting over the top of the insert to soften the sitting surface. Wrap it around the sides if the edges feel thin, keeping the material smooth. Avoid bunching it into one area, which can create ridges beneath the cover.
- Build the padding in layers. Add one layer at a time, checking the cushion’s shape after each addition. A thin, even layer can restore a flattened surface without making the cushion difficult to fit. If the insert needs filling along its full length, use multiple pieces when one piece won’t reach.
- Test the fit before closing the cover. Slide the padded insert back inside and ease it into each corner. Check that the cover closes without excessive strain and the cushion sits evenly on its garden chair or sofa. Remove or reposition batting if it creates bulges or restricts the fit.
- Finish and assess the support. Close the cover, then press across the seat to find any remaining low spots. Sit on the cushion and check whether the added padding feels even. Keep the layers removable where possible, making later adjustments easier as the filling settles through regular outdoor use.
Before settling the layers, compare the padded insert with the cover instead of trimming it to exactly the cover’s dimensions. Make the insert slightly larger, adding about an inch to both its width and length for a snug, full fit. Keep the batting smooth as you check the allowance, then ease the insert into the cover so the fabric is not pulled unevenly. If the cover is difficult to close, check for a misplaced fold or excess padding before reducing the insert. Aim for a full fit without a lumpy outline.
If one piece of filling is not long enough, use several pieces to fill the cushion. Arrange them end to end rather than stacking them, then smooth the surface to avoid concentrating support at a join. Once the filling is inside the cover, check the cushion’s length and shape and adjust the pieces until it lies evenly, with the edges reaching the corners.
Rengard
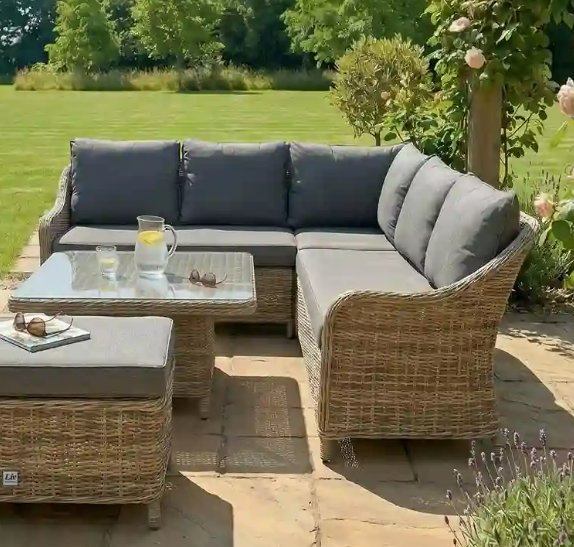
Rengard’s garden furniture can be a next step when improving a cushion is no longer enough for your outdoor seating. Refilling can refresh a sound cover, but it will not fix a damaged seat, a poor furniture fit or a layout that does not suit how you use your patio. In those cases, consider whether a different garden furniture arrangement would better suit relaxed meals and longer afternoons outside.
Start with the decision your measurements and cushion checks have brought into focus. If the frame remains comfortable and only the filling has flattened, the repair steps above may be the more practical route. If the seating itself needs reconsidering, browse garden sofa sets as one way to rethink how your outdoor space is used.
Rengard offers garden furniture for outdoor living, including rattan garden furniture. Its designs use materials such as rust-free aluminium frames, high-quality rattan, rope weave, teak and composite surfaces. Quick-dry, UV-resistant cushion fabrics add another practical consideration when weighing comfort and durability. Think about how the furniture will fit on your patio, how many people need a place to relax, and whether the layout leaves enough room to move around.
A full furniture refresh is not necessary just because one cushion feels flat. Use the comparisons earlier in this guide to distinguish a filling problem from a wider seating issue. If your current furniture still fits your garden and works for everyday use, focus on the cushion repair. If it no longer suits the way you want to dine or relax outdoors, exploring a new arrangement may make more sense.
For a considered update, bring together the practical details you have gathered: the seat dimensions, the condition of the cushion covers and the kind of support you want. These points can help you decide whether to keep your existing seating or explore garden furniture better suited to your patio or terrace. Rengard’s outdoor furniture includes coordinated sets and individual pieces, so you can consider the whole setting rather than each item in isolation.
If you’d like to discuss your garden furniture plans, contact Rengard.
Frequently Asked Questions
What filling makes outdoor cushions more comfortable and supportive?
A resilient insert provides a firmer foundation, while a soft outer layer can make a seat feel more inviting. Choose filling that holds its shape with regular use and fits the cushion cover without straining the seams. For a garden bench used for shorter visits, a softer feel may suit; for a seat used for longer periods, prioritise even support across the sitting area.
What cushion thickness is best for outdoor seating?
The right thickness depends on the chair’s seat height, depth and back support, so there is no ideal measurement for every garden seat. A thick cushion can raise your sitting position and change how your feet meet the ground. For a low chair, choose a profile that preserves a comfortable posture; for a deeper seat, consider how the cushion affects support behind your back.
How do I choose outdoor cushion covers that feel comfortable in hot weather?
Choose a cover that feels pleasant against bare arms and legs, and consider a lighter colour for a sun-exposed patio. Texture matters too: a smooth, soft finish may feel more comfortable than a coarse one on warm afternoons. If your seating is in direct sun, use a parasol or move the cushions into shade to reduce their exposure while you are outside.
Which outdoor cushion fabrics are breathable, water-resistant and UV-resistant?
Look for outdoor fabric described as quick-drying and UV-resistant, then consider how its construction suits your exposure to rain. Solution-dyed fabric can help retain colour because the colour runs through each yarn. A mesh or cushion-underlining panel on the underside can help with drainage, while the outer fabric protects the cushion. If you are also exploring weather-ready gear for camping and travel setups, outdoor communities like Adventurerz share practical advice on fabrics built to handle the elements. These features address different needs, so consider both the cover and the cushion construction.